Have you ever baked grapes?
It’s weird and funny. But kinda tasty.
Especially when you bake them into mini cakes.
Made out of pancake batter.
I started this blog as a record of my adventures in the kitchen, and this was sure a quirky little jaunt, if not a full out adventure.
These grapes were staring me in the face. Taunting me really. Bake me bake me, they shouted as I took out milk for my cereal or veggies for a salad.
But grapes are not a super common item in baked goods, at least not in their full fresh glory. So, I figured I would need something a little funky.
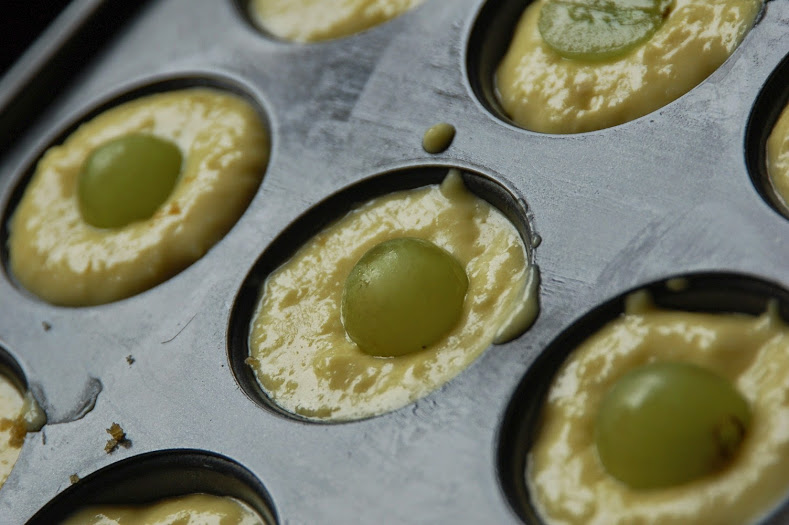
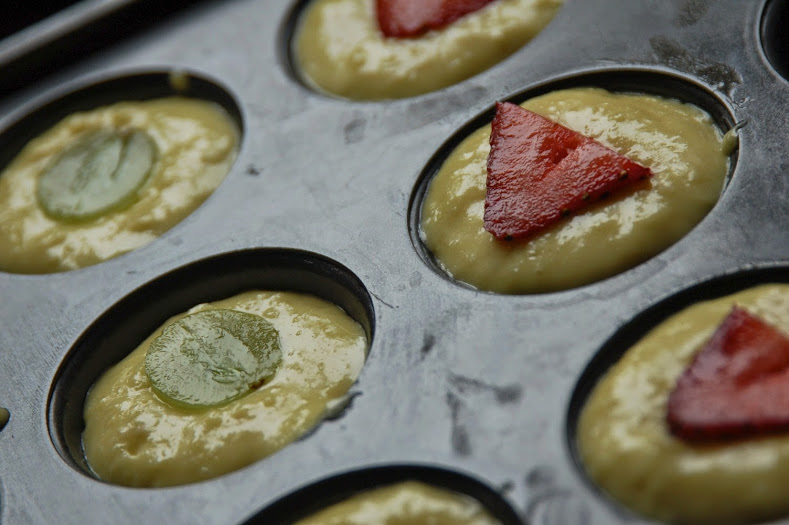
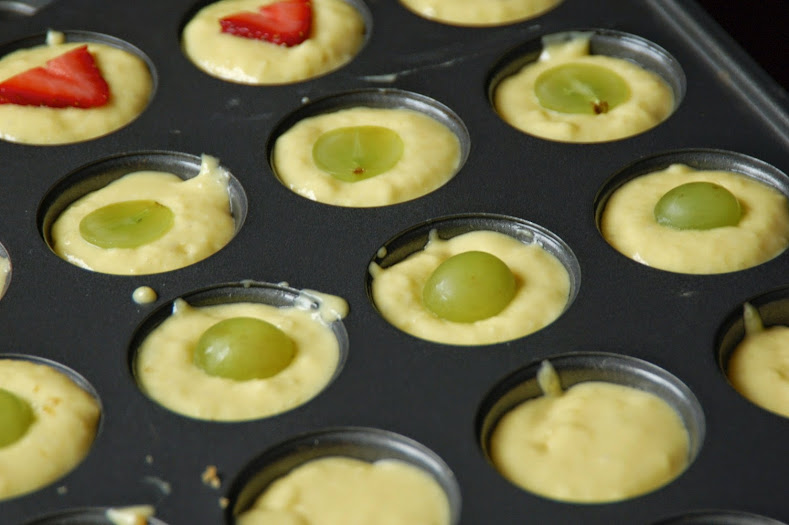
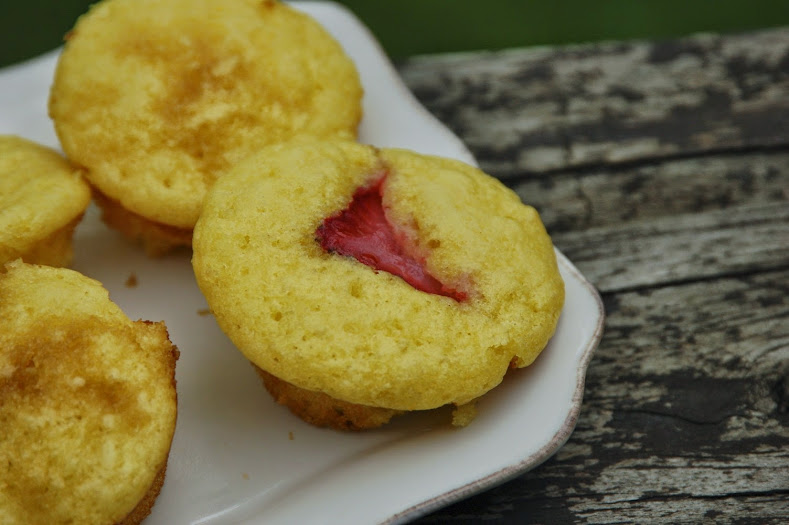
I adapted my favorite pancake recipe and plunked a grape in each. As any good kitchen scientist would do, I also made some control groups: halved grapes, strawberry slices, brown sugar, and plain.
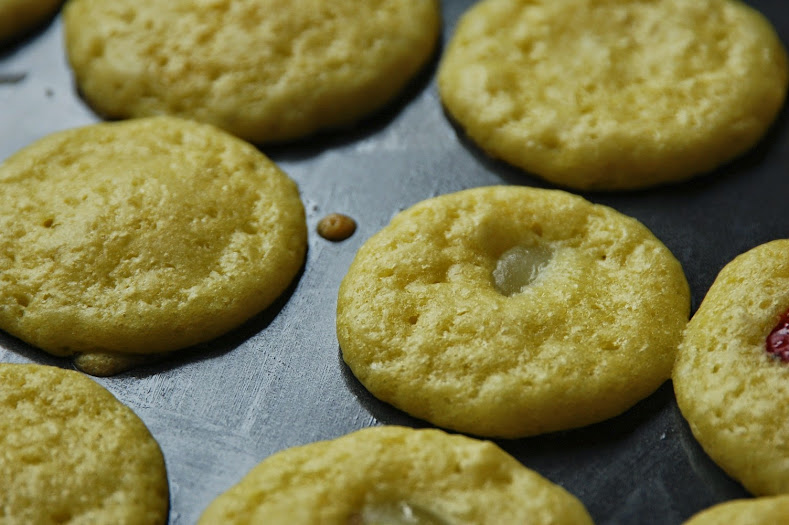
The cakes themselves were delish! The grape was a little surprise tart burst in the middle. The sliced grapes probably work a little better than the whole ones. As far as my other control groups – the brown sugar topped cakes may have a future home in my breakfast repertoire. They were GOOD.
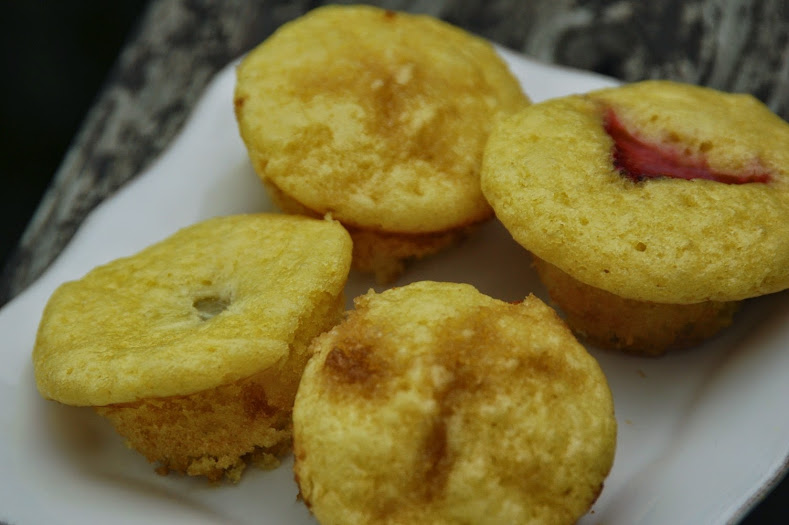
The downsides of this adventure? I should have used muffin tin liners – these guys stuck to the sides of the pan like it was their JOB. Also, the ones with fruit are really best when warm. The next day, they were a little less quirky and a little more funky.
As all adventures go, I learned some lessons, saw some sights, and got some stories to take back to the campfire. Plus I made something called grape cakes. That’s enough for me!
Grape Cakes
makes about 20-24 mini muffins
Ingredients
4T butter, melted and cooled
1/4 c plain greek yogurt
1/2 c skim milk
1 egg
1 cup flour
2 T sugar
1 t baking powder
1/2 t baking soda
1/4 t salt
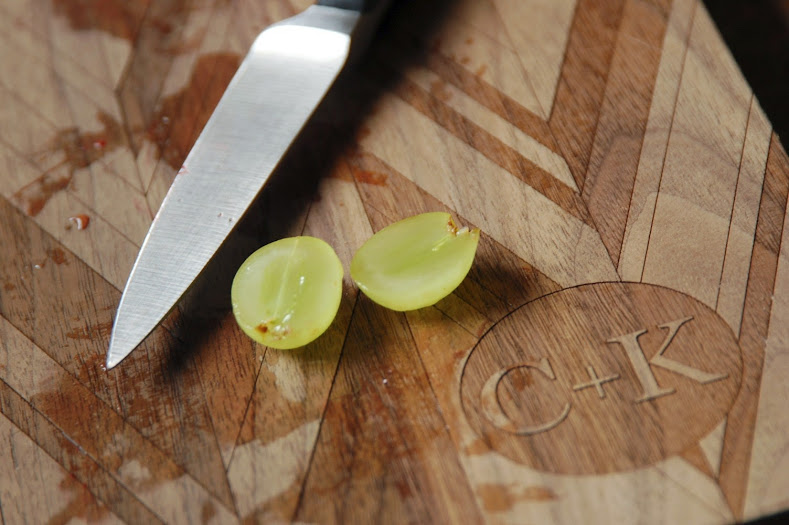
grapes, cut in half
Line a mini-muffin tin with liners and preheat the oven to 350 degrees F.
Whisk together yogurt, milk, and egg, and then slowly whisk in butter. In a separate bowl, combine all dry ingredients. Fold wet ingredients into dry ones, being careful not to overmix.
Fill the mini-muffin tins about 1/2-3/4 full. Plop a grape, cut side up, into the center of each muffin. Do not press down – it will sink on its own. Bake for about 10 minutes or until golden and set. Let cool about 5 minutes in the pan. These treats are best enjoyed warm!